

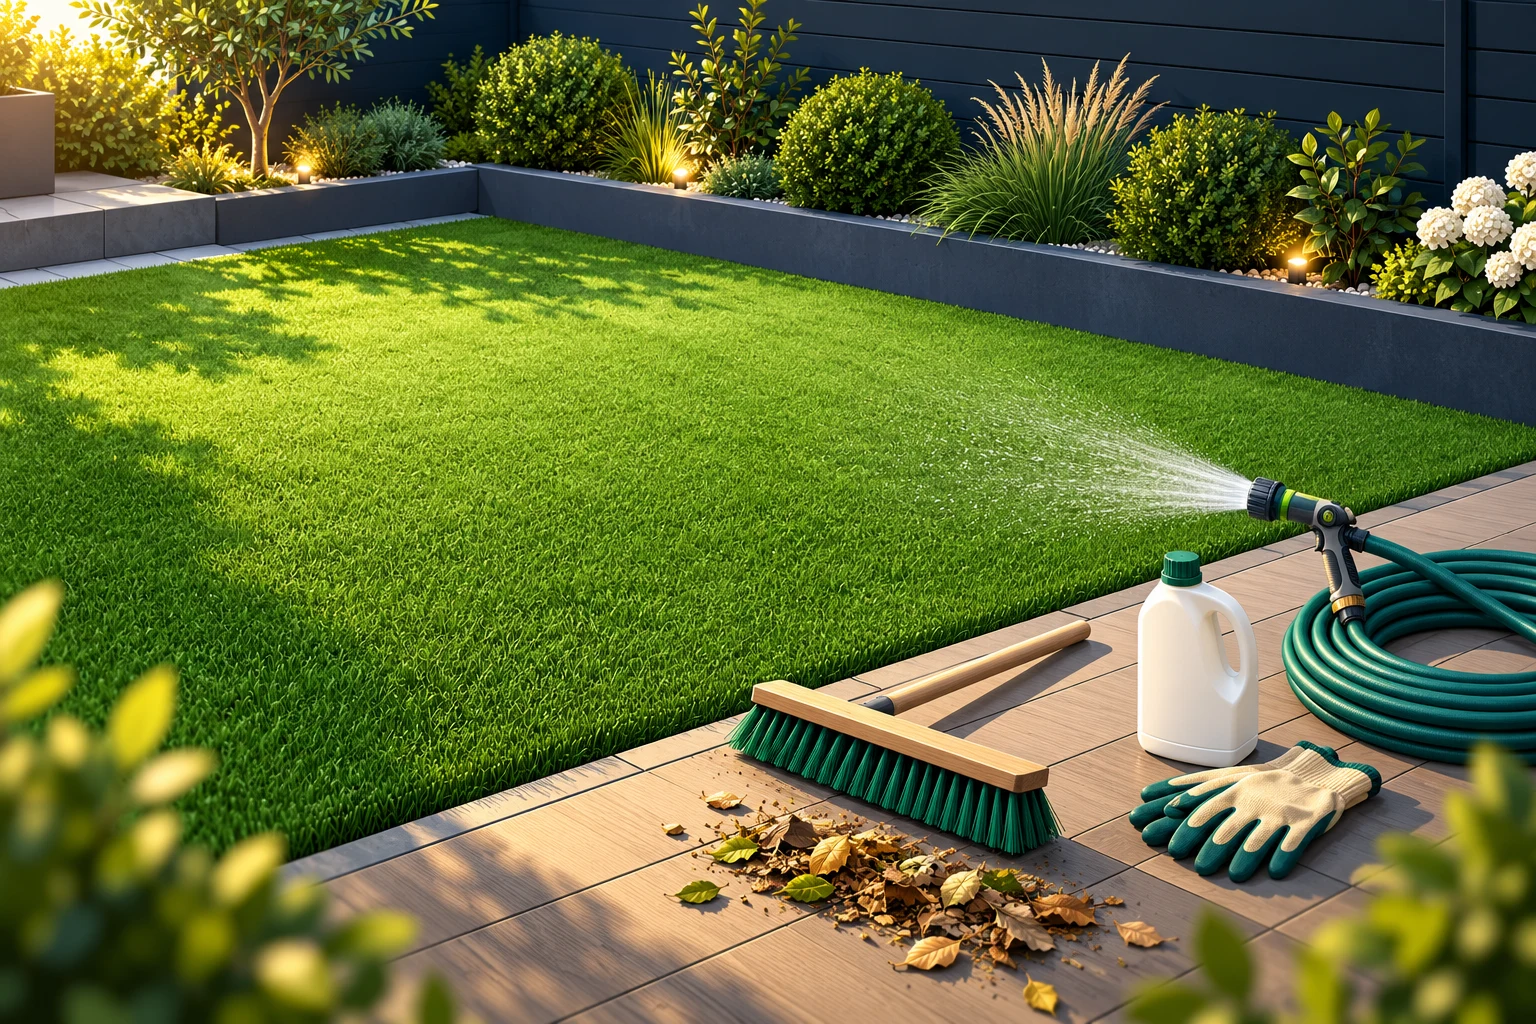
A clean lawn starts with a simple routine: remove debris, treat problem areas with compatible products, and care for the fibers without disturbing the infill. This DIY guide covers routine cleaning of residential artificial turf, including lawns used by pets.
Start with your turf’s care instructions
Check the care guide for your turf, backing, and infill before choosing tools or chemicals. Follow the cleaner’s label for dilution, dwell time, rinsing, protective equipment, and when people and pets can return. These instructions vary by system and product.
If seams are lifting, backing is damaged, or water is not draining, address that problem before a full wet clean.
How to clean artificial turf at home
For routine DIY artificial turf cleaning, remove solid waste and loose debris first, inspect the lawn, then spot-clean with a compatible product according to its label. Rinse only where the turf care guide and product directions require it. Let the surface dry, groom gently, and check that it is ready before reopening it to children and pets.
Artificial grass still needs maintenance even though it does not need mowing. Dust, leaves, food spills, pet hair, and organic residue can collect between the fibers. Regular attention helps you spot small issues before they become harder to manage. The approach below is intended for routine residential care; sports surfaces and commercial installations may require different equipment and maintenance procedures.
What you will need
- Garden hose with a gentle spray nozzle, where water use is permitted.
- Soft synthetic-bristle broom or plastic turf rake approved for your lawn.
- Waste scoop, bags, gloves, and a soft cloth for spills.
- Manufacturer-approved artificial turf cleaner, if needed; an appropriate measuring container or label-approved hose-end applicator.
- Any eye protection, gloves, or other protective equipment required by the cleaner’s label.
- Optional low-power leaf blower, only if approved for your turf and infill.
Step 1: Choose the right time and clear the lawn
Work when the turf is cool and conditions suit the cleaner’s label. Avoid treating a hot surface in strong midday sun. Follow local watering restrictions. Move toys, bowls, portable furniture, and other obstacles. Keep children and pets out of the work area.
Plan enough time for preparation, cleaning, and drying rather than rushing to use the lawn immediately afterward. Start with a small section if you are learning how a new product behaves. On sloped yards, identify where rinse water will travel before you begin. Move cushions and absorbent items out of the splash area, and keep gates secure while pets are indoors.
Step 2: Pick up pet waste and litter
Scoop solid waste into a bag and dispose of it appropriately. Remove litter and any sharp objects carefully. Do not spray feces into the fibers or infill. For fresh spills, blot with a soft cloth rather than rubbing the spill deeper into the lawn.
Check around furniture legs, fence lines, and shaded corners, where debris is easy to miss. Wear gloves when handling waste and wash your hands afterward. If waste is soft, lift away as much as possible without smearing it across the fibers, then follow the approved spot-cleaning method. Removing contamination first makes the next stages more effective and prevents spreading it across clean turf.
Step 3: Remove dry debris
Gently gather leaves, twigs, loose hair, and surface debris with an approved broom or plastic rake. If your manufacturer permits a blower, use a low setting that moves debris without blowing infill out of place. Avoid metal tines and aggressive scrubbing.
Work from one edge toward a collection point so you do not repeatedly move the same leaves around. Use light passes rather than forcing a rake through resistant patches. Debris trapped near the surface can hold moisture and interfere with the appearance of the lawn. If you notice infill collecting in piles, reduce your brushing force and check whether your tool is suitable.
Step 4: Inspect and spot-test
Check edges, seams, drainage points, and heavily used areas. Note stains and odor patches so you can treat them directly. Test your chosen cleaner in an inconspicuous area according to the label and check for discoloration or damage before treating a larger area.
Pay particular attention to areas beneath outdoor furniture and around pet toilet spots. Take a quick photo of an unfamiliar stain before treating it; this helps you compare results after drying. A spot test should include enough time to evaluate the result specified by the product instructions. If the test area changes color or texture, stop and ask the turf supplier for advice.
Step 5: Give the lawn a gentle rinse when appropriate
If your turf’s care guide and cleaner instructions call for it, rinse with a gentle spray to loosen surface dirt. Work in manageable sections. Avoid directing a concentrated jet at seams or edges, and do not flood the lawn or force dirty water underneath the backing.
A hose rinse is for moving loose surface dirt, not repairing drainage or washing away every type of stain. Keep the nozzle moving and watch how water leaves each section. If muddy runoff flows back onto the lawn from nearby soil, correct that source before continuing. Where water restrictions prevent rinsing, use permitted dry maintenance and seek guidance on an approved low-water cleaning method.
Step 6: Prepare the approved cleaner
Use a cleaner compatible with your turf and infill. Measure and dilute exactly as its label directs; there is no universal turf-cleaner mixing ratio. Some products arrive ready to use. Never mix cleaners or add bleach, vinegar, disinfectants, or other chemicals to a product.
Read the full label before opening or connecting the product, including storage and disposal instructions. Use the measuring method supplied or recommended by the manufacturer. A hose-end sprayer may require a specific setting, while a concentrate may require separate dilution. Do not assume that instructions for an indoor carpet cleaner, patio wash, or another brand apply to artificial grass.
Step 7: Treat stains and high-use areas
Apply as directed, focusing on affected areas rather than repeatedly soaking the whole lawn. Gently work the product into the fibers only if the care guide permits brushing. Follow the stated contact or dwell time and any instructions about keeping the treated area wet. For sticky or oily stains, use the turf manufacturer’s specific removal method; do not improvise with solvents.
Separate food spills, pet contamination, and general dirt into individual treatment areas. Blot fresh liquid first and use a clean cloth for each patch so you do not transfer residue. Avoid digging at dried material with sharp tools. If the manufacturer recommends a specific method for chewing gum, grease, or paint, follow that method carefully instead of escalating to a stronger household chemical.
Step 8: Rinse or leave in place as the label directs
Rinse products that require rinsing with a gentle spray until the label’s instructions are satisfied. Leave-in products may have different directions. Manage runoff according to the product label and local rules; do not discharge cleaner into a storm drain. Stop if water pools or drainage appears blocked.
Check shaded areas and low spots, where residue and water may linger longer. Follow the product label rather than judging completion by fragrance alone; a pleasant smell does not confirm that a surface is clean. If you accidentally use too much concentrate, consult the product instructions or manufacturer for correction instead of mixing in another substance to neutralize it.
Step 9: Let the turf dry and groom the fibers
Allow the lawn to drain and dry. When appropriate for your system, lightly brush flattened fibers against their lay with the approved synthetic-bristle tool. Avoid pulling on seams or moving infill. Do not add sand, deodorizing granules, or replacement infill without checking the system’s requirements.
Brush a small test section first and compare the appearance before working across the lawn. The goal is to lift fibers gently, not comb out the material between them. Repeated traffic and heavy furniture can flatten the same spots, so consider moving portable items periodically. Areas with missing infill or exposed backing need the correct maintenance assessment rather than harder brushing.
Step 10: Check the results before reopening
Look for residue, remaining debris, pooling water, and damaged seams. Return furniture carefully. Allow children and pets back only after the cleaner’s re-entry conditions are met and the surface is ready for use. If an odor or stain remains, investigate the cause rather than repeatedly applying more chemicals.
Record the date, product, dilution, and any recurring problem areas. This simple maintenance note helps you avoid unnecessary repeat treatments and gives a professional useful information if you later need help. Store remaining cleaner securely in its original labeled container. Finish by cleaning your tools according to their instructions and keeping waste-handling equipment separate from household cleaning supplies.
Extra care for pet urine and odors
Clean up solids promptly. For fresh urine, follow your turf manufacturer’s advice on localized rinsing. A compatible enzymatic turf cleaner may help with organic residue, but use its exact application and contact-time instructions. Do not assume an odor remover disinfects the surface.
Recurring smells may come from contaminated infill, poor drainage, or material beneath the backing. If correct cleaning does not resolve the problem, arrange an inspection by a turf-cleaning professional or installer.
Cleaning, deodorizing, and disinfecting are different
Cleaning removes dirt and residue. Deodorizing targets unpleasant smells. Disinfecting requires a product labeled for the intended surface and use, applied with its stated contact time and other conditions. Do not assume a lawn is disinfected because it looks clean or smells fresh. If contamination raises a specific health concern, obtain appropriate professional advice before allowing normal use.
Troubleshooting common problems
| Problem | What to do next |
|---|---|
| Odor returns quickly | Check that the product was compatible and used correctly. Have persistent infill, base, or drainage issues assessed. |
| Standing water | Stop wet cleaning. Clear accessible surface debris; ask an installer to inspect persistent drainage problems. |
| Sticky or foamy residue | Check the label’s rinsing directions. Do not layer another cleaner over the residue. |
| Flattened fibers | Groom gently with an approved tool after drying. Seek advice if fibers are matted or damaged. |
| Loose seams or edges | Keep traffic away and arrange a repair before further scrubbing or rinsing. |
A simple maintenance routine
- Promptly: Pick up solids and address spills.
- Weekly or as needed: Check for leaves, hair, and debris; remove gently.
- According to use: Rinse or spot-clean as your care guide permits, especially in pet areas.
- Periodically: Inspect seams, drainage, fiber condition, and infill. Adjust cleaning to pets, dust, weather, and local water restrictions.
Common mistakes to avoid
- Using a pressure washer, steam cleaner, very hot water, or metal brush without explicit manufacturer approval.
- Using unapproved bleach, strong solvents, household mixtures, or chemicals.
- Mixing cleaning products or assuming more concentrate works better.
- Flooding the turf, displacing infill, or brushing across a loose seam.
- Allowing pets back before the product’s re-entry requirements are met.
Frequently asked questions about cleaning artificial turf
Can I use dish soap?
Only if your turf manufacturer approves it and gives suitable instructions. Household detergents can leave residue, and a product that works on one turf system may not suit another.
Can I use vinegar or bleach?
Do not treat either as a universal turf-cleaning recipe. Use only products and methods approved for your turf and infill, and never mix chemicals.
How often should I deep clean?
There is no single schedule for every yard. Pet use, shade, dust, rainfall, drainage, and your care guide determine the need. Clean problem areas promptly and inspect the lawn regularly.
When should I call a professional?
Get help for recurring odors, extensive staining, drainage problems, damaged seams, or infill that needs specialist attention. Routine DIY cleaning cannot repair underlying installation problems.
Before you finish
- Waste and loose debris removed.
- Compatible cleaner used according to its label, if needed.
- Required rinsing and dwell time completed.
- No pooling water, visible residue, or unsafe loose edges.
- Fibers gently groomed where appropriate.
- Cleaner’s re-entry conditions satisfied before people and pets return.
Adapt the routine to your yard
Lawns with pets
Focus inspections on the areas your pets use most. Prompt waste removal and targeted care are more useful than masking smells with fragrance. If your dog repeatedly chooses one corner, include that area in your regular checks and monitor drainage after permitted rinsing.
Dusty or shaded lawns
Wind can carry fine dust onto artificial grass, while nearby trees add leaves and seeds. Shaded areas may dry more slowly. Adjust debris removal to the conditions you actually see, and avoid leaving damp organic material trapped under movable furniture or along the edges.
High traffic areas
Entrances, play spaces, and routes between a patio and gate can show wear sooner than quieter sections. Inspect these paths when grooming. A change in fiber appearance is a reason to check the care guide, tool choice, and infill condition before increasing cleaning intensity.
Keep your routine practical: inspect first, treat the specific issue, and reassess after drying. Consistent, gentle maintenance is easier to manage than allowing debris and residue to accumulate between occasional intensive cleaning sessions.
Review your notes each season and adjust your approach when weather, household use, or conditions change.